How to Upscale an Image in Photoshop Without Losing Quality

If you’ve ever tried to upscale an image in Photoshop, you’ve probably had this moment:
You increase the size, expecting a sharper result… but instead, the image looks softer than before.
Edges lose clarity. Textures feel smoothed out. And no matter how much you tweak the settings, something still feels off.
That’s not a mistake—it’s a limitation.
Photoshop can upscale images, but it doesn’t actually recreate detail. It estimates it. And once you push beyond a certain point, those estimates stop looking natural.
Understanding that is what separates a clean result from a disappointing one.
Quick Answer: How to Upscale an Image in Photoshop Without Losing Quality
To upscale an image in Photoshop without losing quality:
-
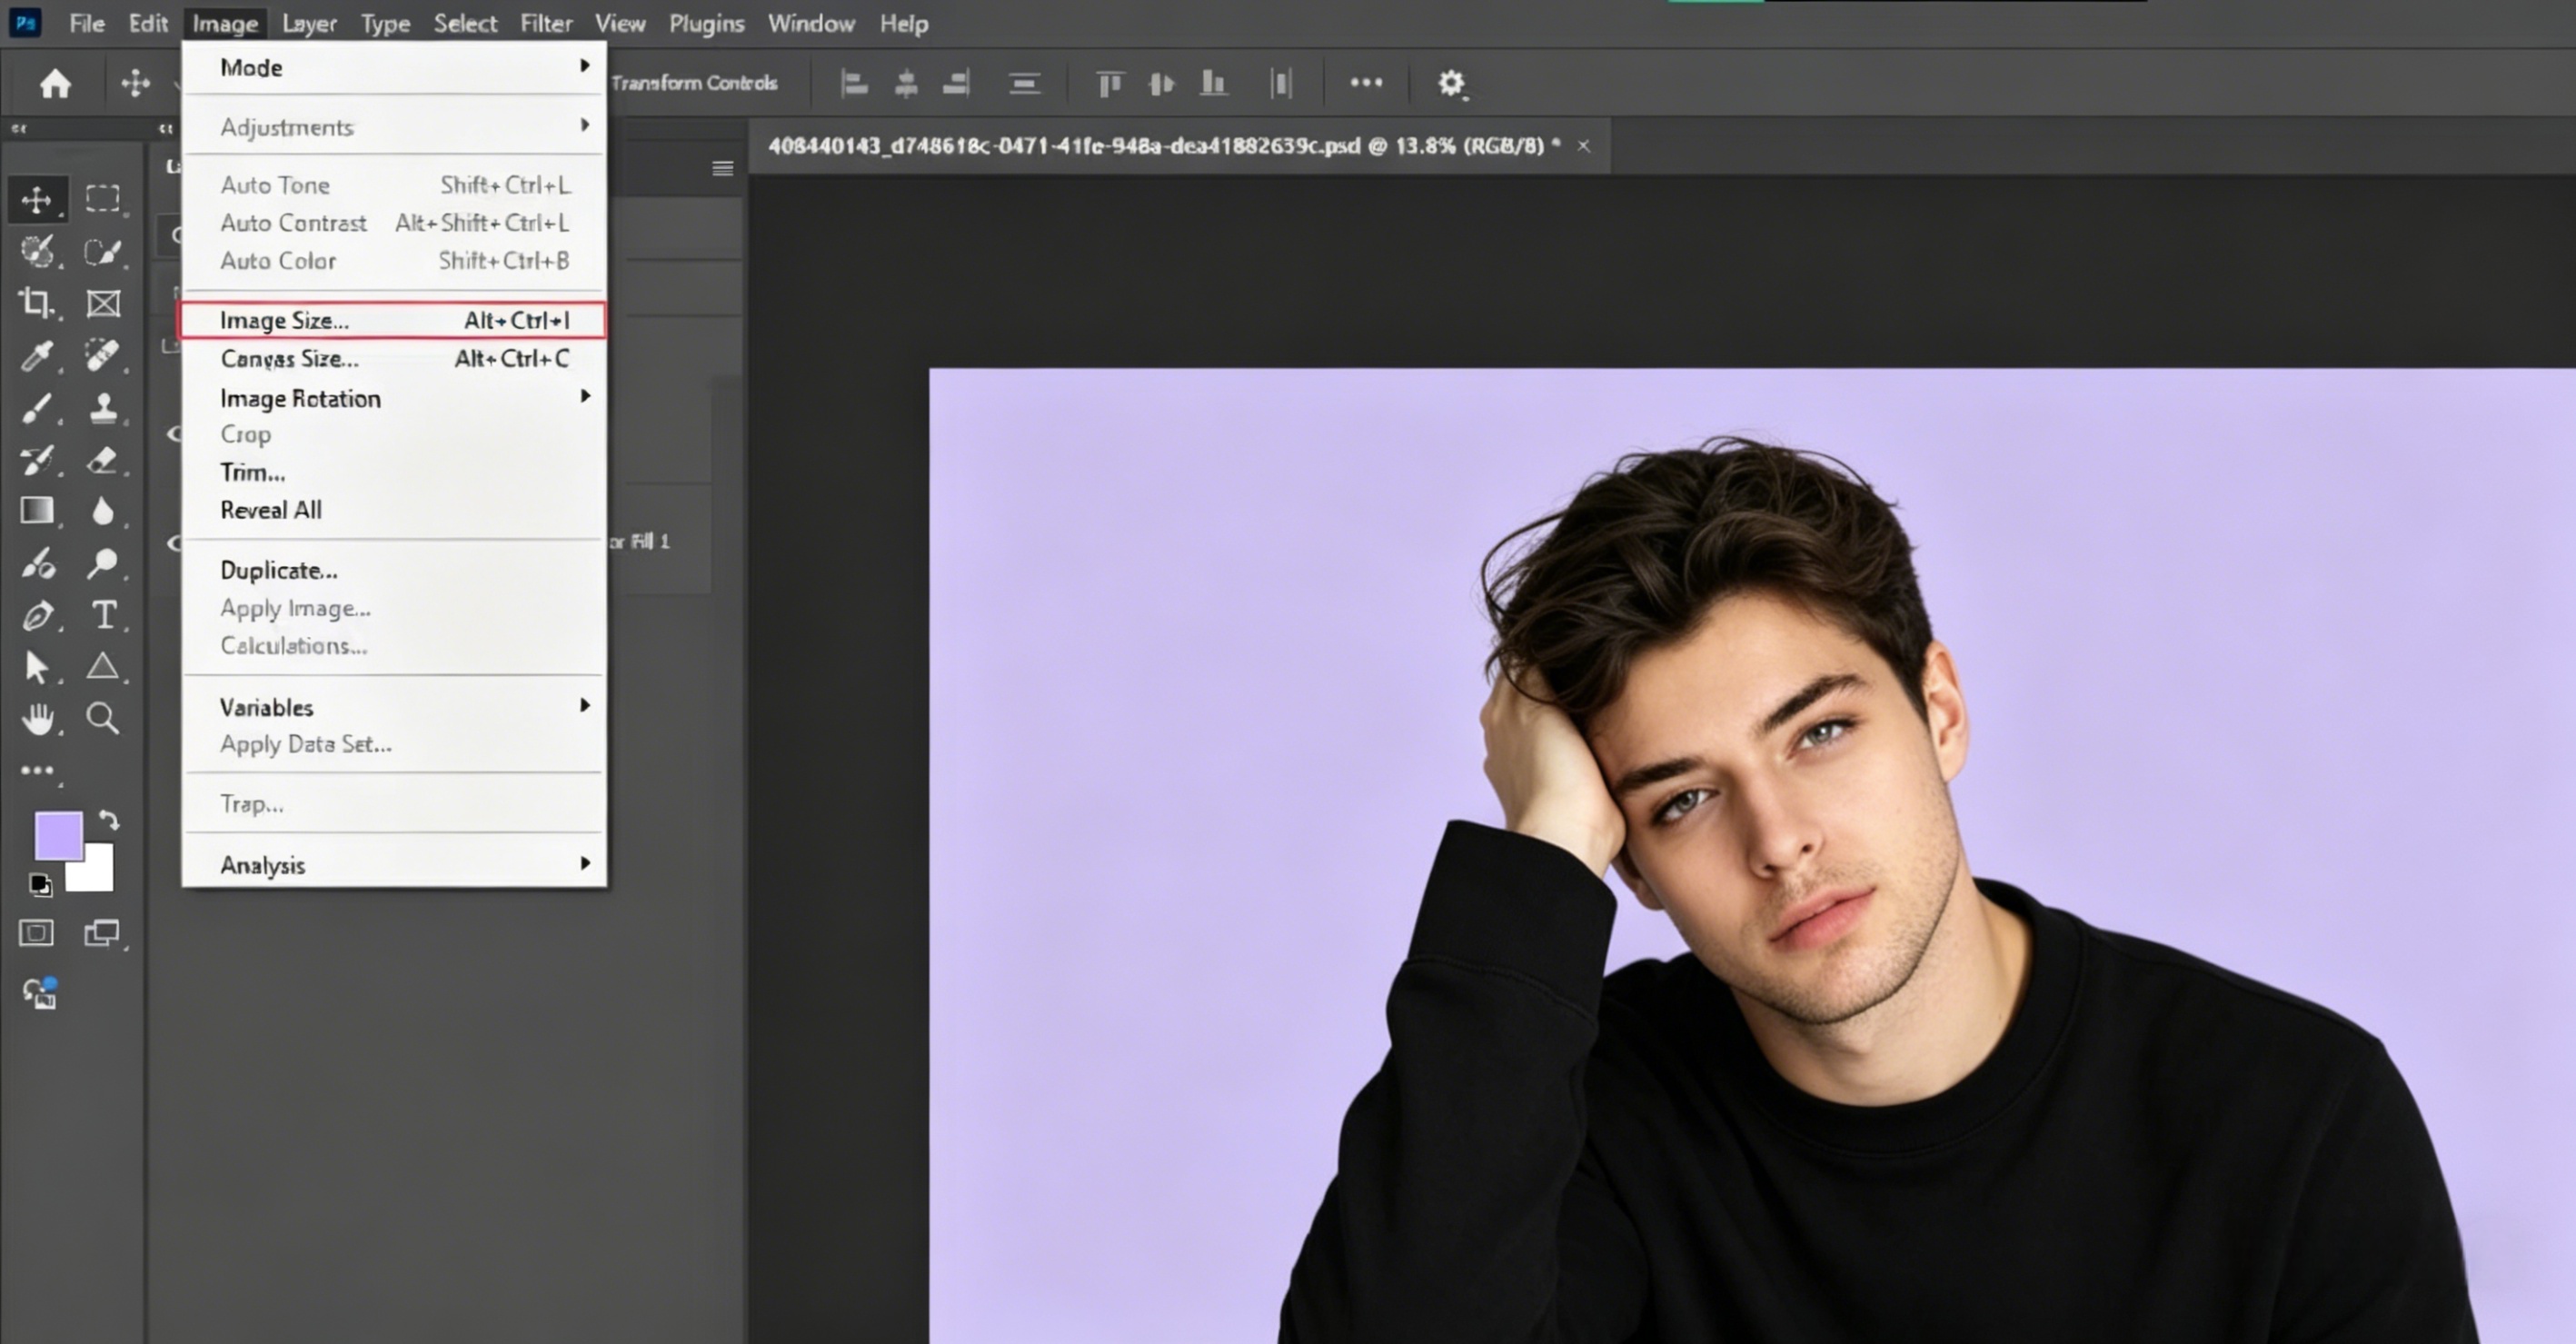
Open Image → Image Size
-
Enable Resample → Preserve Details 2.0
-
Increase the size gradually instead of in one step
-
Adjust noise reduction slightly
-
Apply sharpening after resizing
This method works best for small to moderate scaling. For larger enlargements (2× or more), Photoshop may struggle to preserve fine details.
Why Upscaling in Photoshop Often Looks Blurry
If you're trying to upscale an image in Photoshop without losing quality, the biggest challenge is how Photoshop handles data.
When you enlarge an image, Photoshop uses a process called interpolation. It analyzes nearby pixels and fills in the missing information based on patterns.
This works surprisingly well for small adjustments. If you increase the size slightly, the software has enough context to maintain consistency.
But when you try to:
increase image resolution in Photoshop resize an image without losing quality or enlarge an image significantly
…the gaps between pixels become too large.
At that point, Photoshop is no longer refining detail—it’s guessing. And that’s when softness, blur, and artificial textures start to appear.
So the goal isn’t to “add detail.” It’s to protect what’s already there as much as possible.
How to Upscale an Image in Photoshop (Best Settings Step-by-Step)
There are many ways to resize an image in Photoshop, but only one workflow consistently produces clean, usable results.
Follow this carefully—the difference is in the details.
Step 1: Open the Image Size Panel
Go to:
Image → Image Size
 Before changing anything, make sure:
-
“Resample” is enabled
-
The aspect ratio is locked
-
Units are set to pixels
This ensures Photoshop generates new pixels instead of simply stretching the image.
Step 2: Use Preserve Details 2.0 (Best Resampling Method)
In the “Resample” dropdown, select:
Preserve Details 2.0
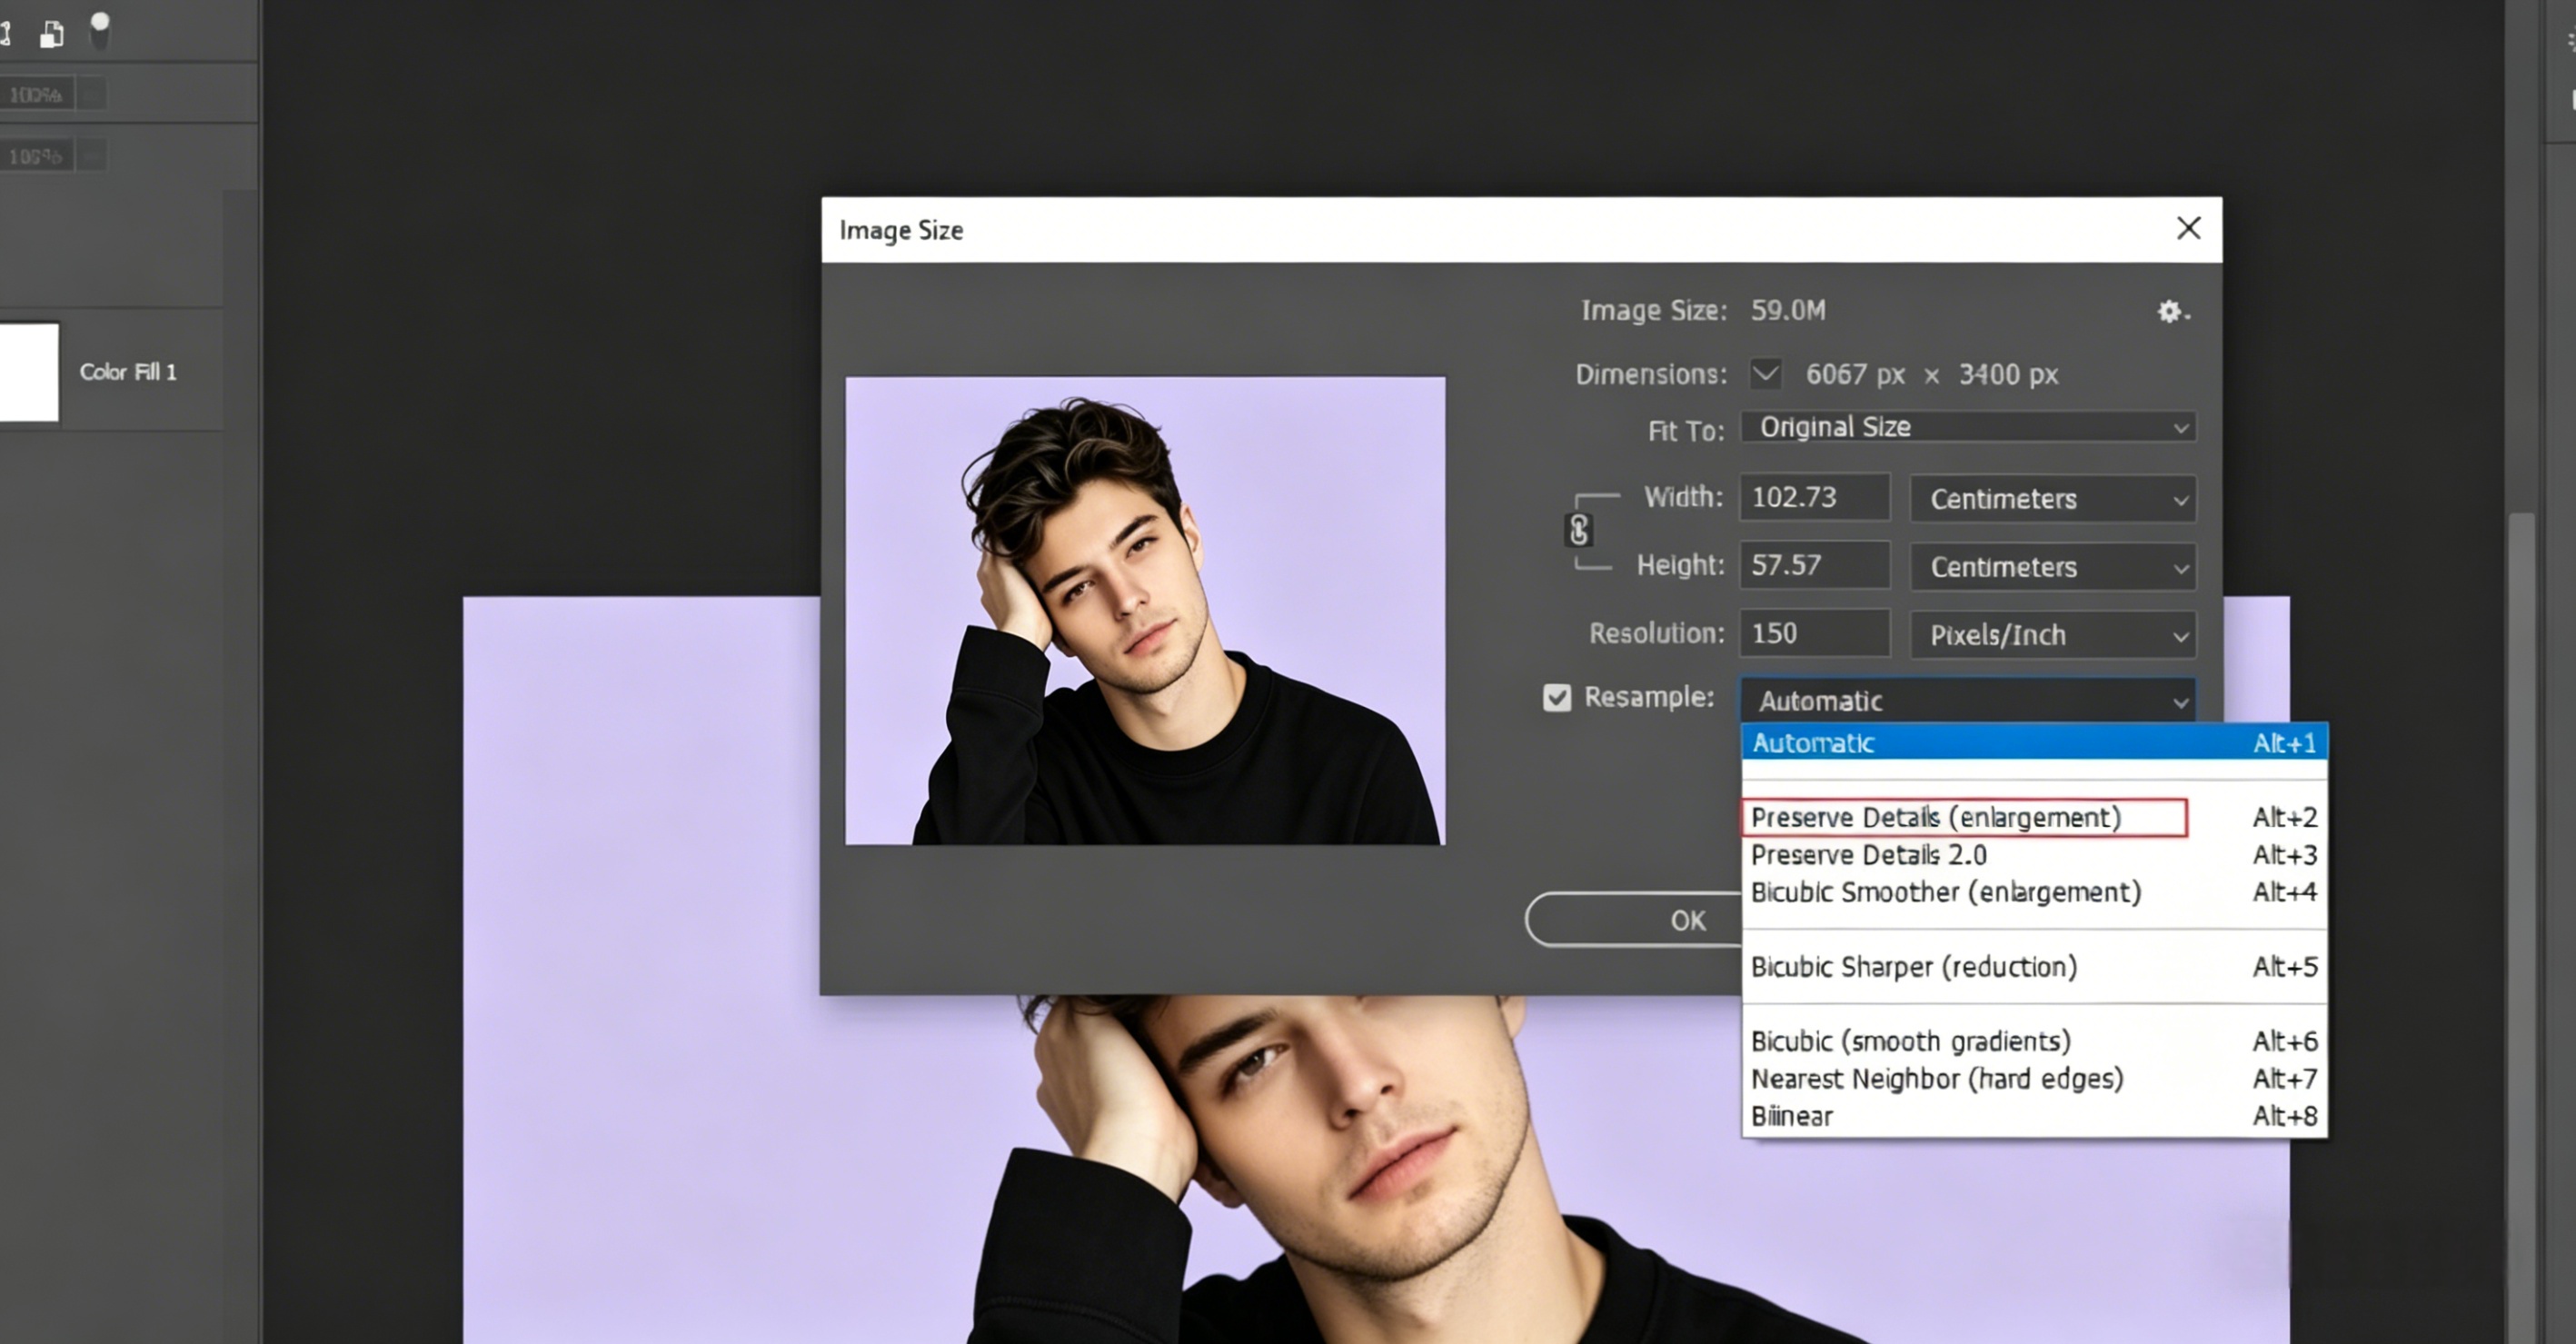 This is the best method for enlarging images in Photoshop. It maintains edges better and reduces blur compared to older algorithms.
You’ll also see a Noise Reduction slider. Start around 10% and adjust carefully while previewing.
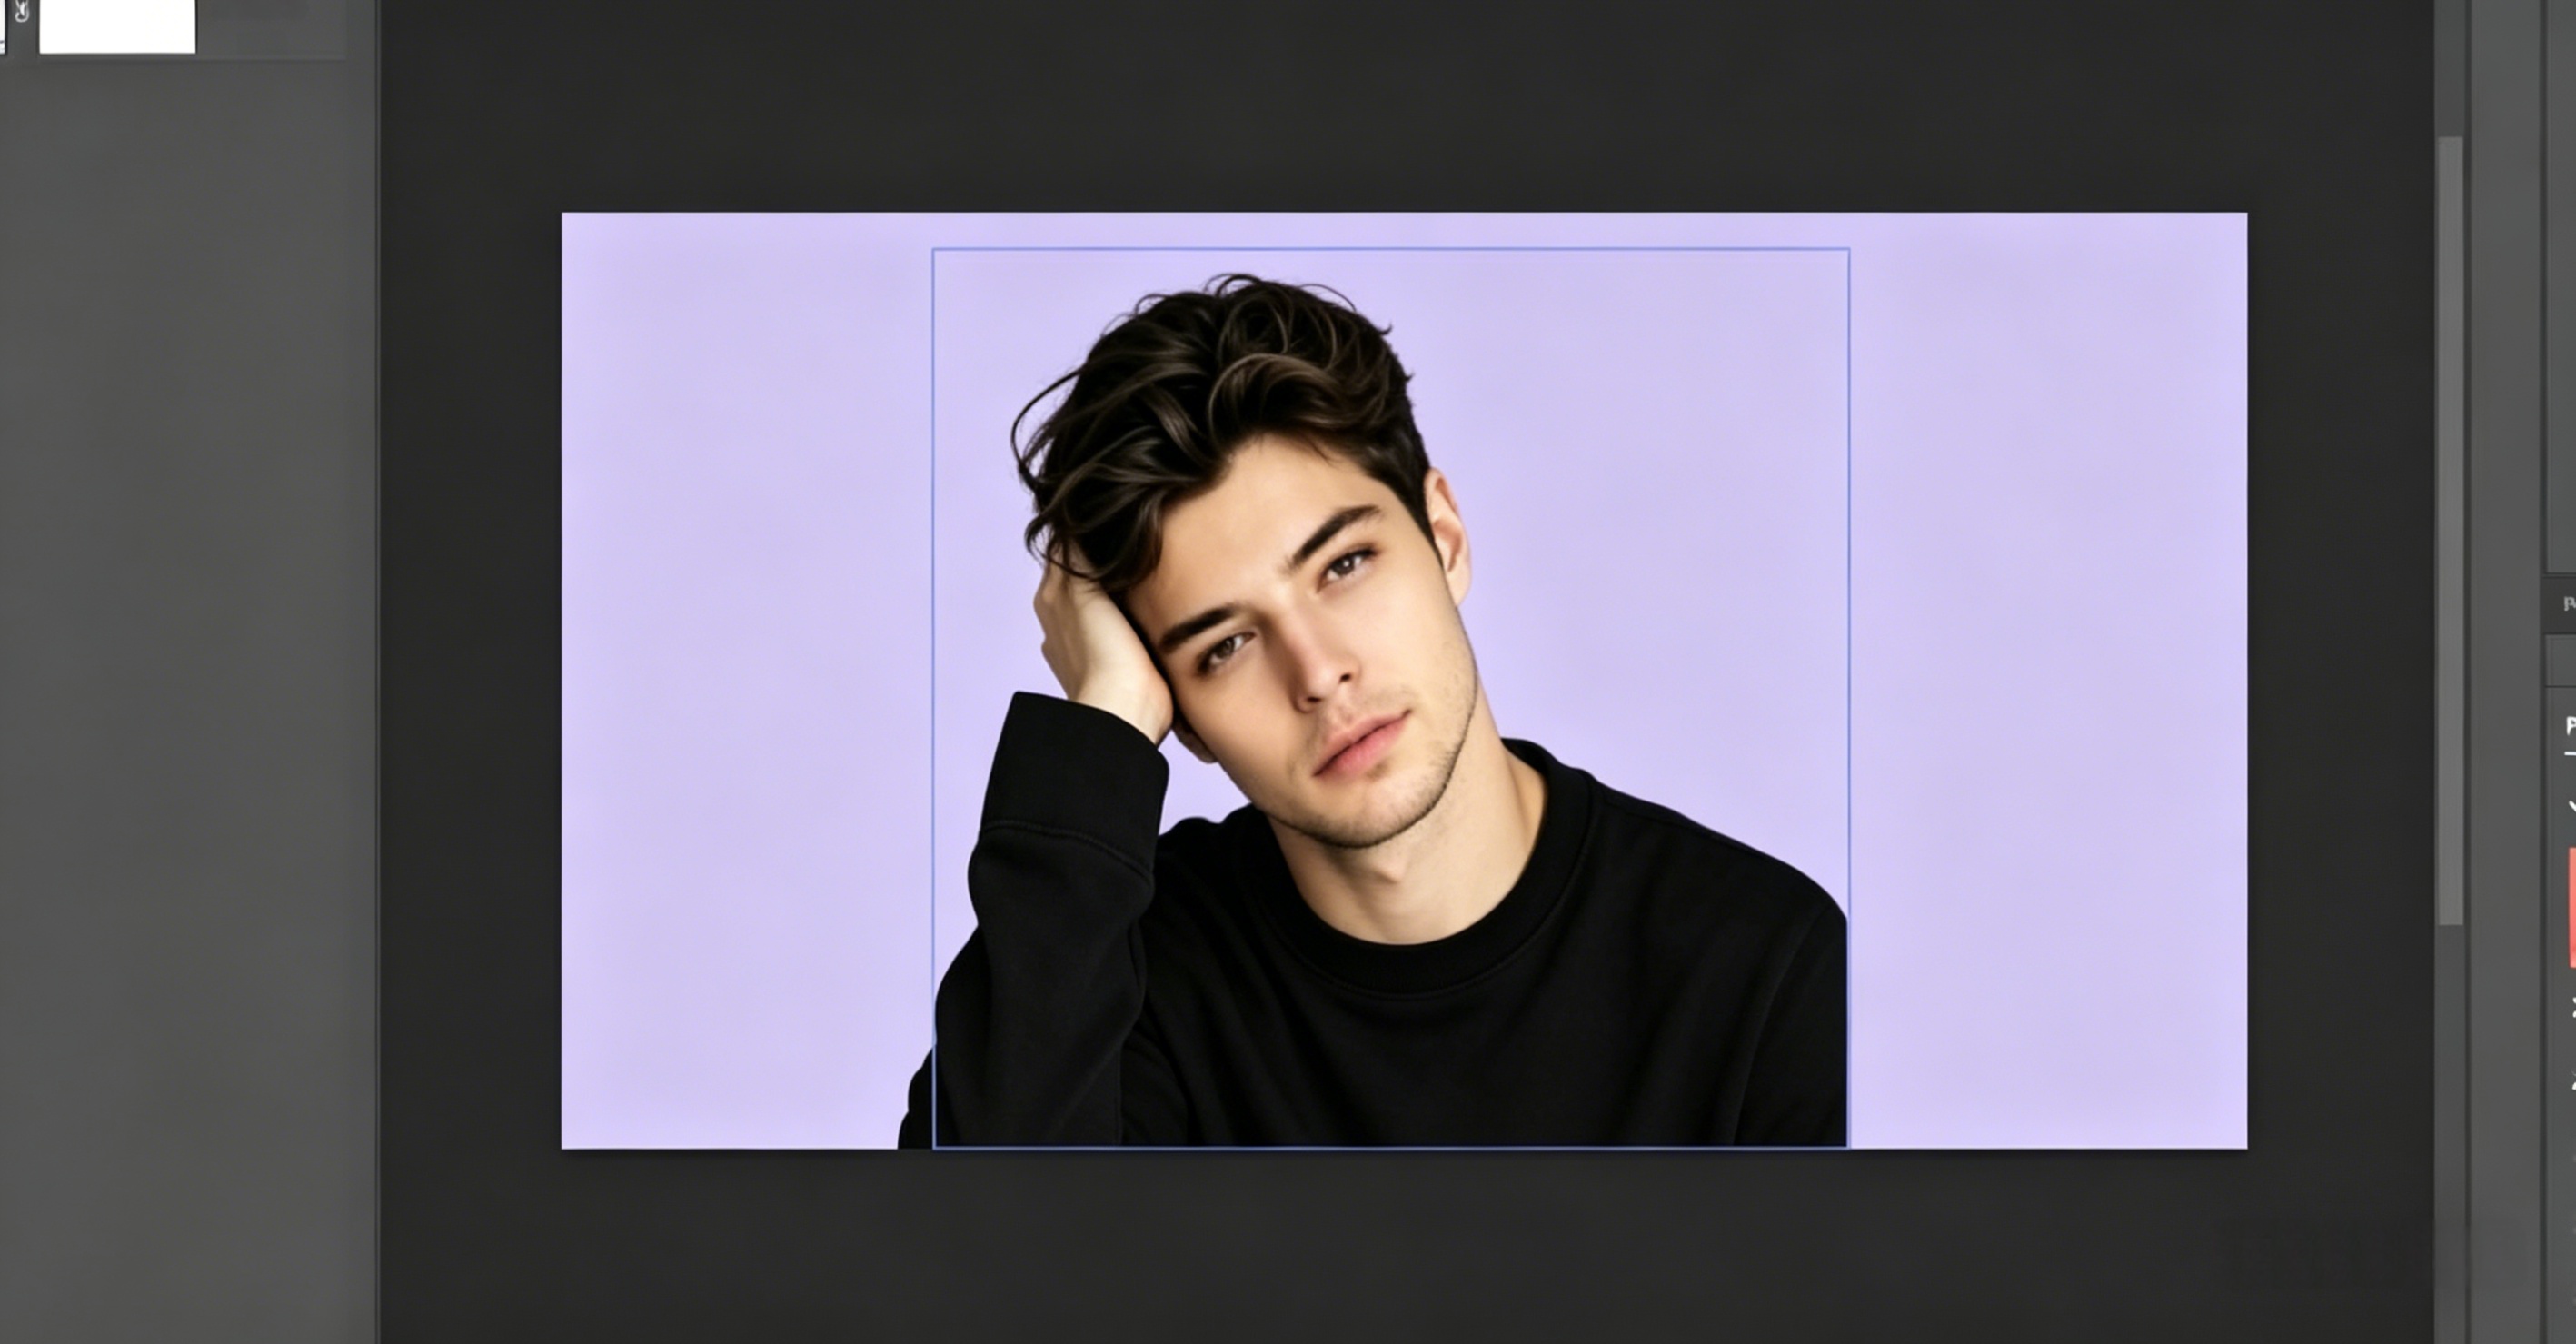
Step 3: Increase Size Gradually Instead of One Jump
This is where most people lose quality.
 Instead of jumping directly to your target size, scale progressively:
100% → 130% 130% → 170% then continue if needed
This reduces interpolation errors and results in noticeably better clarity.
In real-world use, this alone can make the difference between a usable image and a blurry one.
Step 4: Check Quality at 100% Zoom
Always evaluate your image at 100% zoom.
At smaller zoom levels, Photoshop smooths the preview, which hides actual quality issues.
 At 100%, you’ll clearly see:
-
edge softness
-
texture loss
-
artifacts
Make decisions based on this view—not the scaled preview.
Step 5: Apply Sharpening After Upscaling
Once resizing is complete, apply sharpening:
Filter → Sharpen → Smart Sharpen
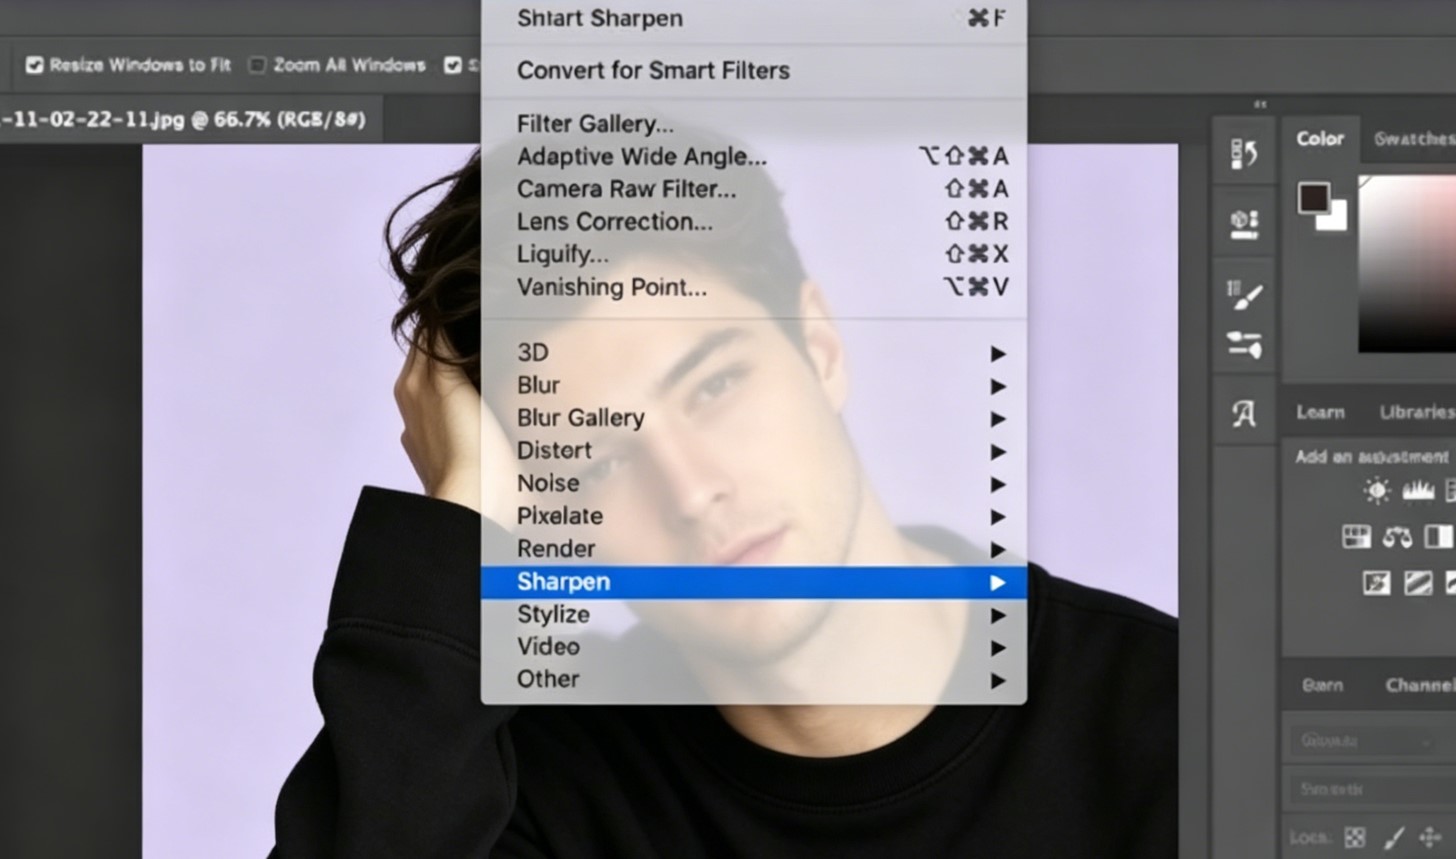 Use moderate settings. The goal is to restore clarity—not to create harsh edges or halos.
When Photoshop Works Well—and When It Doesn’t
Photoshop is reliable—but only within certain limits.
It performs well when:
-
the original image is already high quality
-
scaling is moderate (under ~150–200%)
-
detail is not extremely complex
But beyond that, limitations become obvious.
You’ll start noticing textures flattening, fine details disappearing, and sharpening no longer fixing the issue.
At that point, the problem isn’t your technique—it’s the tool itself.
Photoshop vs AI Upscaling: Which One Is Better?
This is where many users start searching for alternatives.
Photoshop relies on interpolation. AI upscalers take a different approach—they reconstruct detail using trained models.
In practice:
-
Photoshop is better for controlled, minor adjustments
-
AI tools perform better for large scaling and detail recovery
If your goal is to resize an image without losing quality in Photoshop, it works—but only within limits.
If you need to enlarge an image without blur, especially beyond 2×, AI tools usually produce more natural results.
A Better Way to Upscale Images Without Losing Quality
If you’ve followed all the correct Photoshop steps and the image still looks soft, you’re likely hitting interpolation limits.
This is where AI-based tools like Visualero AI Image Upscaler come in.
 Instead of stretching pixels, Visualero analyzes the image and reconstructs missing detail. The difference is especially noticeable in areas like:
-
facial features
-
textures
-
edges and fine lines
The workflow is also much simpler. You upload the image, and the AI handles detection and enhancement automatically—no need to manually adjust resampling or sharpening.
When Visualero Makes a Real Difference
From practical use, the advantage becomes clear in more demanding scenarios.
You’ll see better results when:
-
the original image is low resolution
-
you need 2×–4× enlargement
-
detail quality matters
These are exactly the situations where Photoshop tends to fall short.
Common Mistakes That Reduce Image Quality
A lot of quality loss comes from small but avoidable mistakes.
-
Scaling too much in one step
-
Overusing noise reduction
-
Sharpening too aggressively
-
Evaluating at incorrect zoom levels
Fixing these alone can significantly improve your results.
FAQ
1. Can Photoshop upscale an image without losing quality?
Yes, but only for small to moderate increases. Large upscaling will reduce detail.
2. What is the best setting to upscale images in Photoshop?
Preserve Details 2.0 with gradual scaling provides the best results.
3. Why does my image look blurry after resizing in Photoshop?
Because Photoshop interpolates pixels instead of creating real detail, especially at larger sizes.
4. Is there a better way to upscale images without blur?
AI upscalers can often produce better results for large enlargements by reconstructing detail.
Final Thoughts
Photoshop is still one of the most reliable tools for image resizing—when used within its limits.
If you stay within that range and follow the right workflow, results are clean and predictable.
But once you push beyond moderate scaling, quality drops quickly.
That’s when switching to AI upscaling isn’t just easier—it’s simply the better option.
Share this article
Help others discover this content
Related Articles
View all
How to Incorporate Yourself in AI Image Generator: A Complete Guide
Struggling to make AI-generated images look like you? This guide explains how to incorporate yourself in an AI image generator, select the right photo, and use Visualero’s models for realistic results.
How to Make AI Video of Photo Without Looking Strange
Learn how to make AI video of photo without looking strange. Avoid common mistakes, improve realism, and create smooth, natural animations with simple steps.

How to Combine Two Images (3 Easy Ways That Actually Work)
Learn how to combine two images using simple methods like side-by-side layout, blending, or overlay. Includes Photoshop steps and an easier AI solution.
Upscale Images to Crystal Clear Quality
Enhance low-resolution images to stunning 4K quality. Perfect for printing, social media, and professional use.