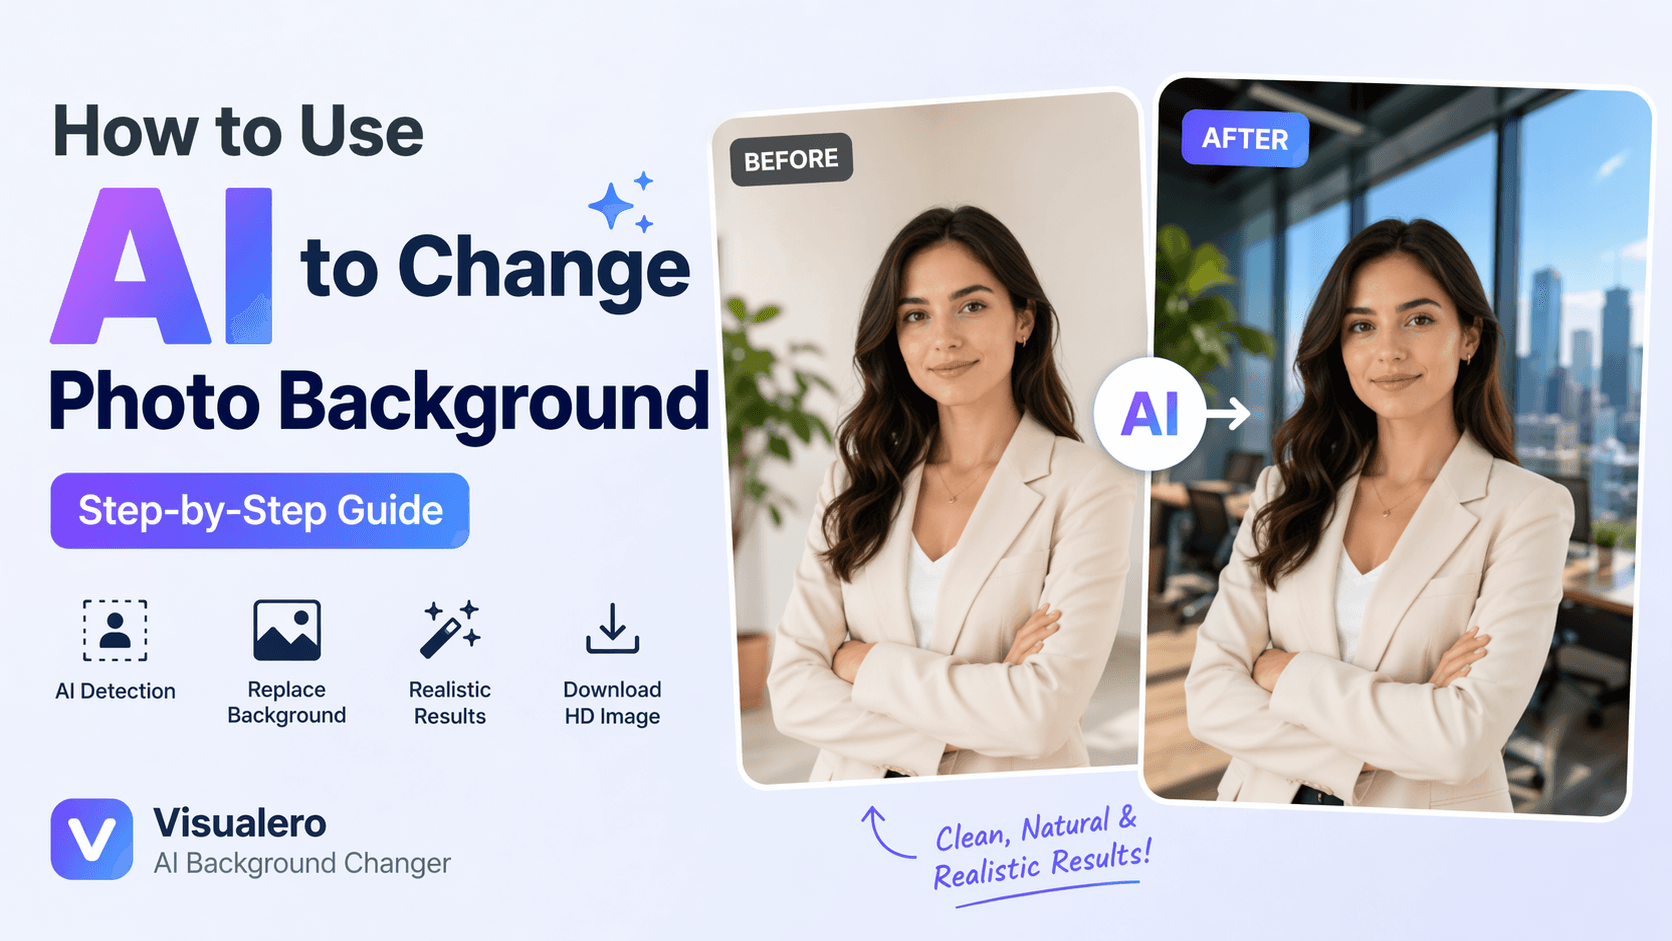
How to Use AI to Change Photo Background (No Photoshop Needed)
Changing a photo background sounds simple—until you actually try it.
You upload an image, remove the background, drop in a new one… and suddenly something feels off. The edges look weird, the lighting doesn’t match, or the subject just doesn’t “belong” in the scene.
That’s exactly where most traditional tools fail.
The good news? AI has made this process dramatically easier—and when used correctly, it can produce results that look surprisingly natural, even if you have zero editing experience.
In this guide, you’ll learn how to use AI to change a photo background step by step, plus how to avoid the most common mistakes that make edits look fake.
Why Changing Photo Backgrounds Is Harder Than It Looks
Before jumping into the steps, it’s important to understand why background replacement often goes wrong.
Most tools don’t actually “understand” your image—they just cut and paste pixels.
Here’s where things usually break:
1. Hair and Edge Details
Fine details like hair strands are notoriously difficult to isolate. Poor cutouts lead to jagged or blurry edges.
2. Lighting Mismatch
If your subject is lit from the left but your new background has light coming from the right, the result instantly looks unnatural.
3. Shadows and Depth
Real photos have depth. Without proper shadows, your subject looks like it’s floating.
4. Color Temperature Differences
Warm indoor lighting vs cool outdoor backgrounds = obvious mismatch.
👉 This is why basic background remover tools often feel “cheap.”
AI tools solve this by analyzing context—not just pixels.
How to Use AI to Change Photo Background (Step-by-Step)
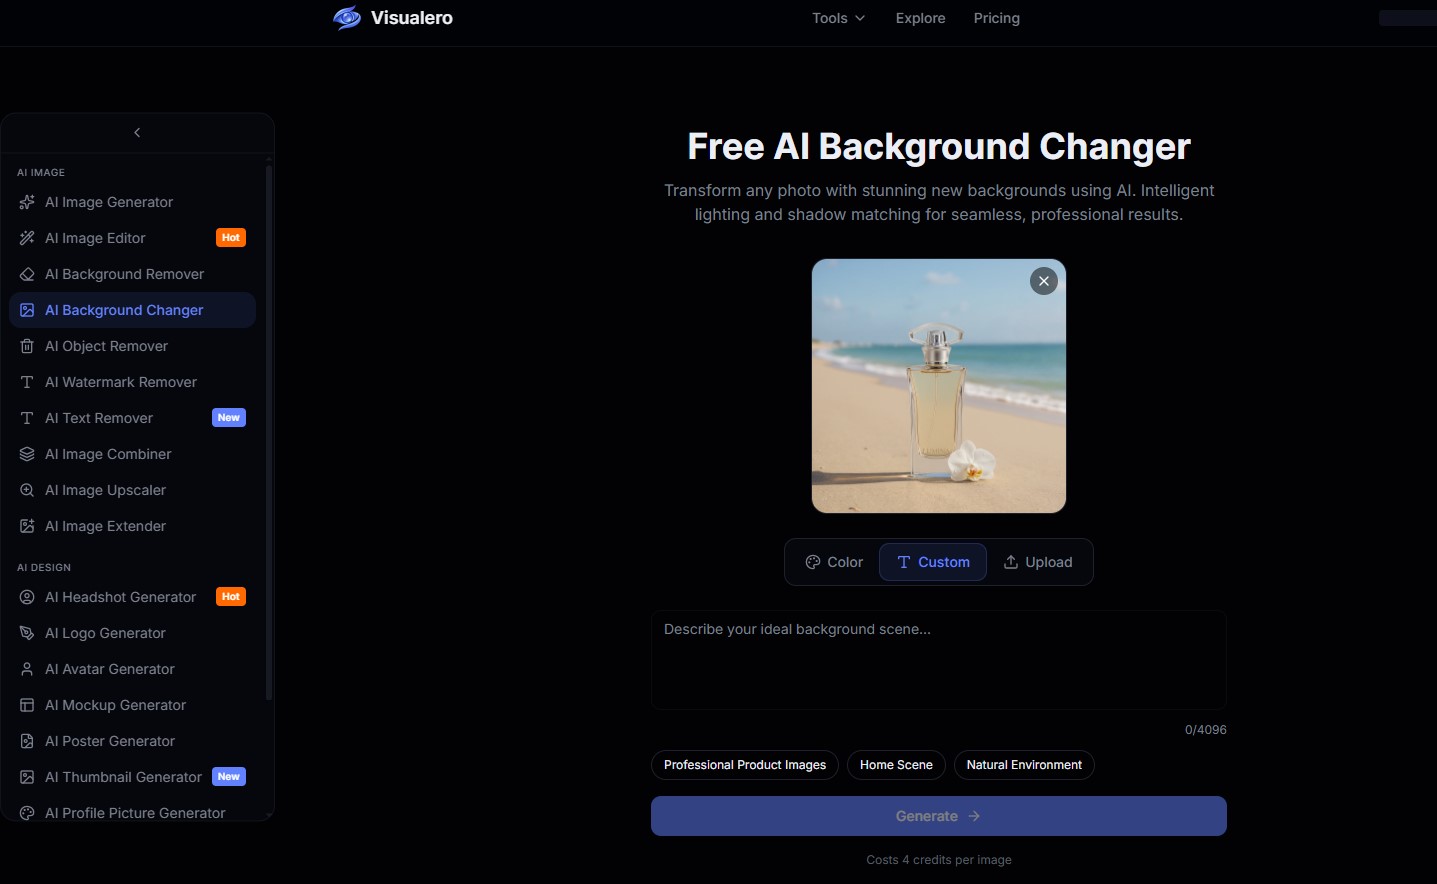
Here’s the exact workflow using an AI-powered tool like Visualero AI Background Changer.
Step 1: Upload Your Photo
Start with a clear image where the subject is easy to identify.
 👉 Best results:
-
Good lighting
-
Simple foreground
-
Minimal motion blur
Avoid extremely cluttered images if possible.
Step 2: Let AI Remove the Background
Once uploaded, the AI automatically detects the subject and removes the background.
Unlike manual tools, this process:
-
Preserves hair details
-
Keeps edges smooth
-
Reduces cutout errors
No manual selection needed.
Step 3: Choose a New Background
Now comes the creative part.
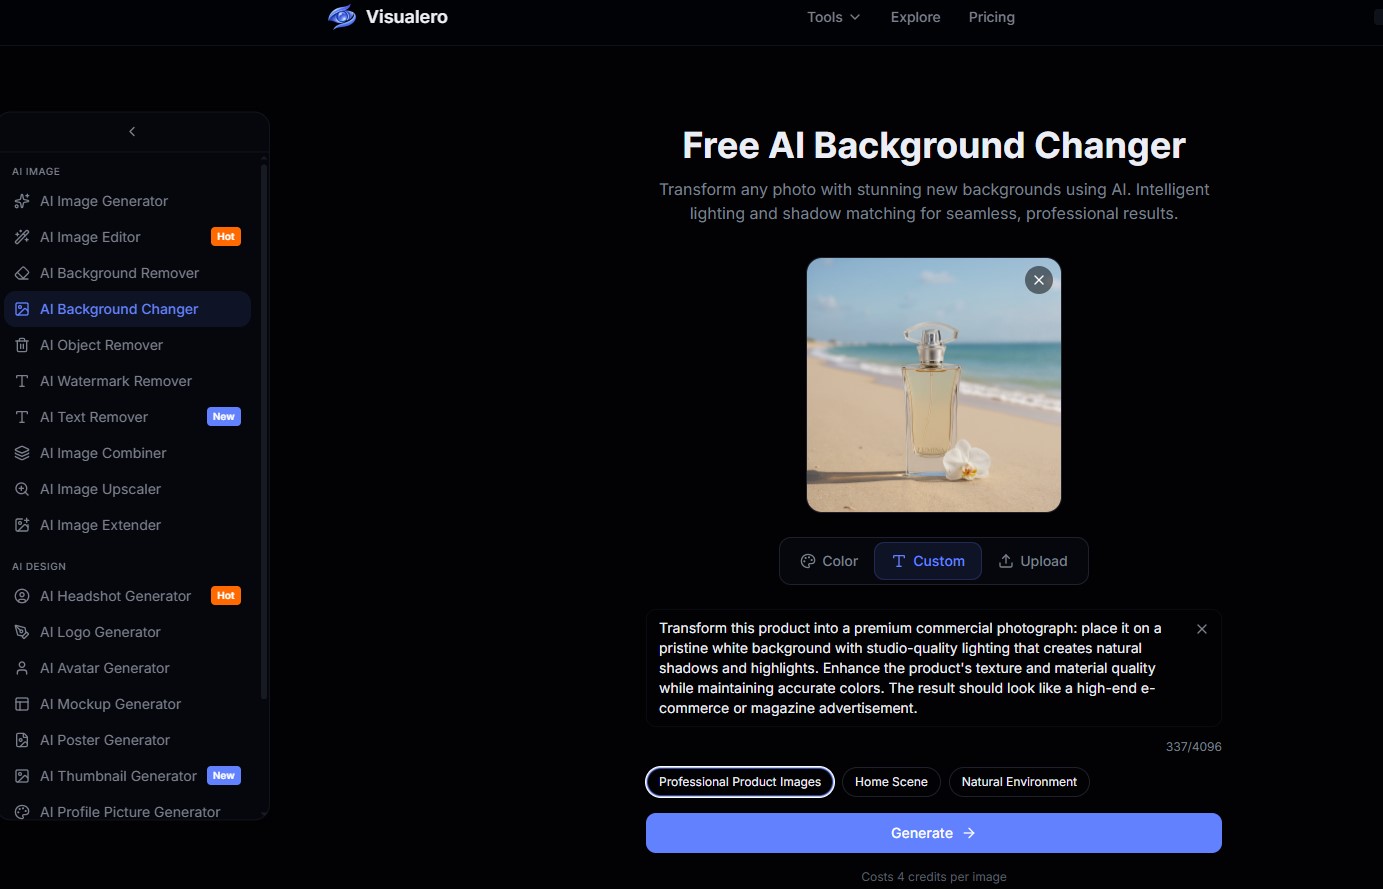 You can:
-
Pick from preset backgrounds (office, beach, studio, etc.)
-
Upload your own image
👉 Pro tip: Choose a background that matches the subject’s angle and lighting direction.
Step 4: Adjust Lighting and Position
This is where most tutorials stop—but this step is what separates average results from realistic ones.
Fine-tune:
-
Brightness
-
Contrast
-
Shadow intensity
-
Subject position
Even small adjustments can dramatically improve realism.
Step 5: Download Your Final Image
Once everything looks natural, export your image.
 At this point, your photo should look like it was originally taken in that environment—not edited.
Best Background Ideas for Different Use Cases
Not all backgrounds work for every scenario. Choosing the right one makes a huge difference.
Professional Headshots
-
Office
-
Neutral studio
-
Soft gradient
Perfect for LinkedIn or resumes.
Social Media Photos
-
Aesthetic rooms
-
Nature scenes
-
Urban backgrounds
More creative and eye-catching.
Product Photos
-
Clean white
-
Minimal textures
-
Soft shadows
Ideal for eCommerce listings.
Why AI Background Changers Are Better Than Photoshop
Let’s be honest—Photoshop works, but it’s not for everyone.
Here’s a practical comparison:
FeatureAI ToolPhotoshopEase of useVery easyComplexTime requiredSeconds10–30 minutesSkill levelBeginner-friendlyAdvancedEdge qualityAI-optimizedManual workConsistencyHighDepends on skill
👉 For most users, AI tools are simply faster and more reliable.
That’s why tools like Visualero AI Background Changer are becoming the go-to option.
Common Problems (And How to Fix Them)
Even with AI, things can go wrong if you’re not careful.
Problem 1: Edges Look Unnatural
Fix: Use higher-resolution images and avoid busy backgrounds during upload.
Problem 2: Background Doesn’t Match
Fix: Match lighting direction and perspective between subject and background.
Problem 3: Colors Look Off
Fix: Adjust temperature and contrast to unify the scene.
Problem 4: Subject Looks “Pasted”
Fix: Add subtle shadows and reduce sharpness slightly.
Can You Change Photo Background Without Photoshop?
Yes—and for most people, it’s actually the better option.
AI tools eliminate:
-
Manual selection
-
Layer masking
-
Complex adjustments
Instead of spending 20 minutes editing, you can get usable results in seconds.
That’s exactly why more creators are switching to AI-based workflows.
Final Thoughts
Changing a photo background used to require advanced editing skills.
Now, with AI, it’s something anyone can do in minutes.
The key difference isn’t just automation—it’s realism.
If you’ve struggled with unnatural edges, mismatched lighting, or time-consuming edits, switching to an AI tool can completely change your workflow.
👉 If you want a faster and easier way to get clean, realistic results, try Visualero AI Background Changer and see the difference for yourself.
FAQ
Can AI really replace photo backgrounds automatically?
Yes. Modern AI tools can detect subjects and replace backgrounds automatically with minimal input, often producing more natural results than manual editing.
What is the best AI tool to change photo background?
It depends on your needs, but tools like Visualero offer a balance of speed, quality, and ease of use, making them suitable for most users.
Why does my edited photo look fake?
Usually due to lighting mismatch, poor edge detection, or incorrect background choice. Adjusting shadows and colors can fix this.
Is AI background changer better than Photoshop?
For most users, yes. AI tools are faster and require no technical skills, while Photoshop offers more control but requires experience.
Share this article
Help others discover this content
Related Articles
View all
How to Incorporate Yourself in AI Image Generator: A Complete Guide
Struggling to make AI-generated images look like you? This guide explains how to incorporate yourself in an AI image generator, select the right photo, and use Visualero’s models for realistic results.
How to Make AI Video of Photo Without Looking Strange
Learn how to make AI video of photo without looking strange. Avoid common mistakes, improve realism, and create smooth, natural animations with simple steps.

How to Combine Two Images (3 Easy Ways That Actually Work)
Learn how to combine two images using simple methods like side-by-side layout, blending, or overlay. Includes Photoshop steps and an easier AI solution.
Transform Photo Backgrounds with AI
Swap your photo background instantly. Whether you need a professional office setting, scenic landscape, or custom background - AI creates it naturally. No Photoshop skills needed.